> ## Documentation Index
> Fetch the complete documentation index at: https://cometchat-013b37f0.mintlify.site/llms.txt
> Use this file to discover all available pages before exploring further.
# Add CometChat Widget to WordPress via Plugin
> Comprehensive guide to install, configure, and extend the new CometChat WordPress plugin.
## Before getting started
Go through the [Overview](https://app.cometchat.com/) to generate your Widget from the CometChat Dashboard.\
Ensure you have:
* A WordPress site (5.0+)
* PHP 7.2 or higher
* Your **App ID**, **Region**, and **Auth Key**
## Quick Steps to Embed CometChat Widget
1. Download the CometChat plugin from [here](https://kernl.us/api/v1/archive/688bbf1f5a0dc110ce1bfafe).
2. Save the `cometchat-pro.zip` file to your computer.
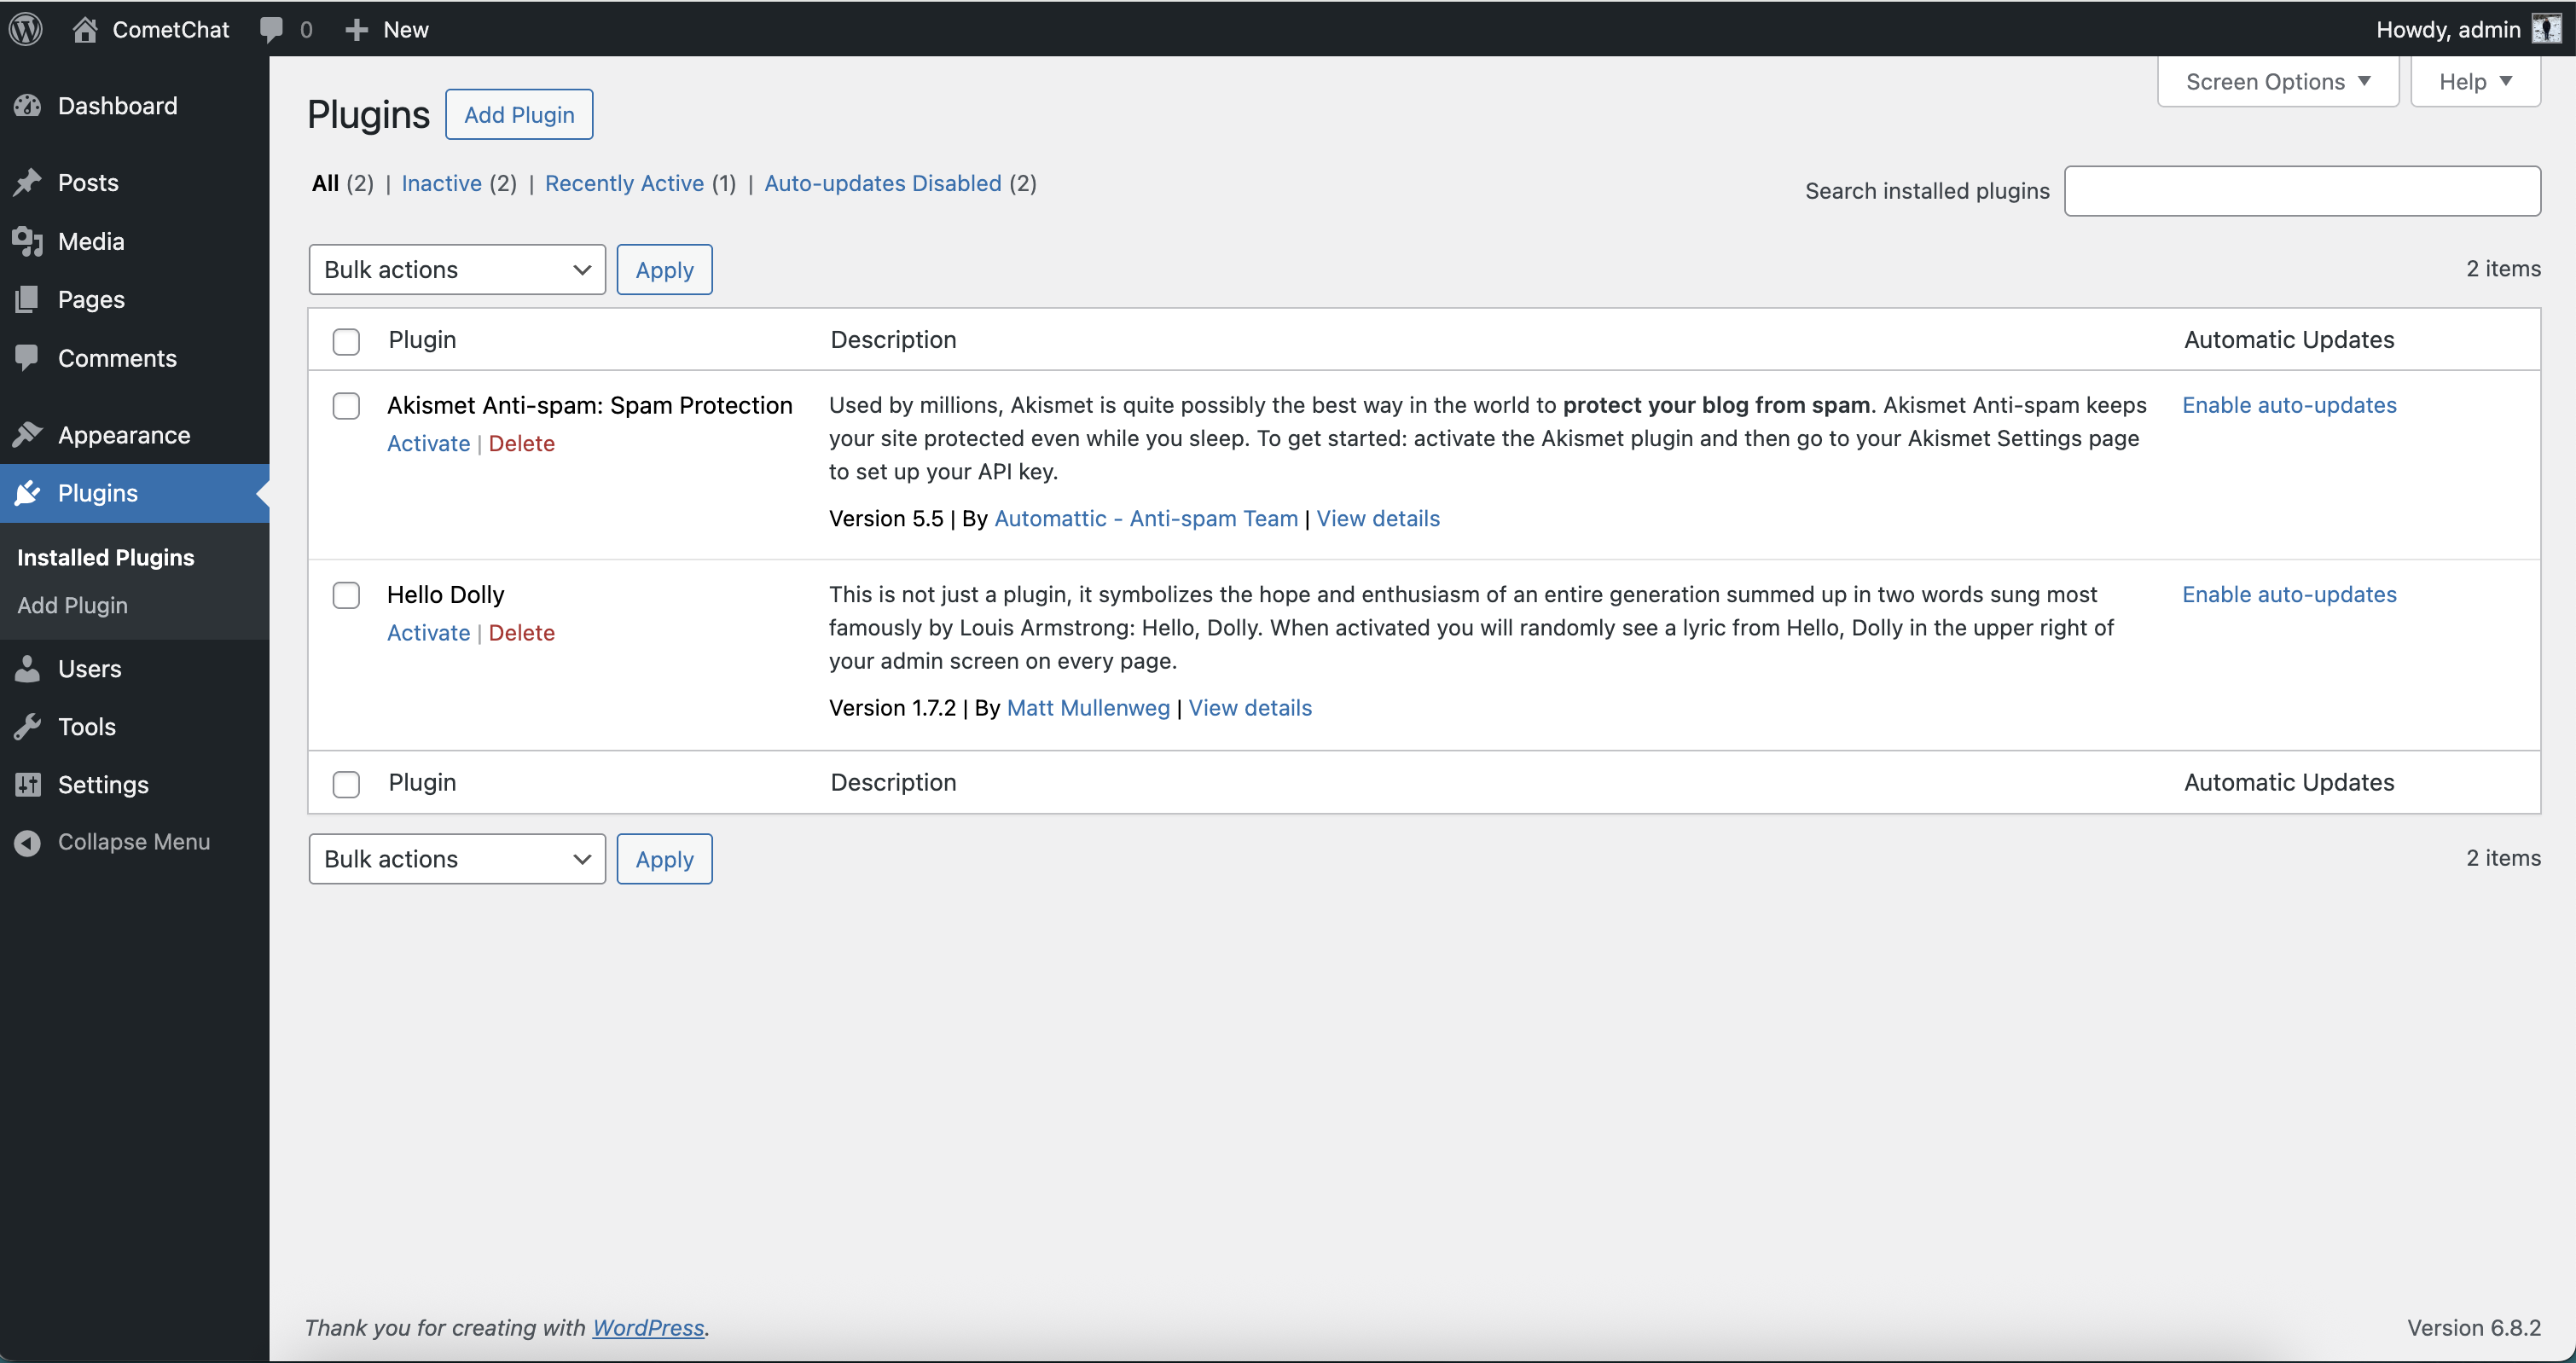
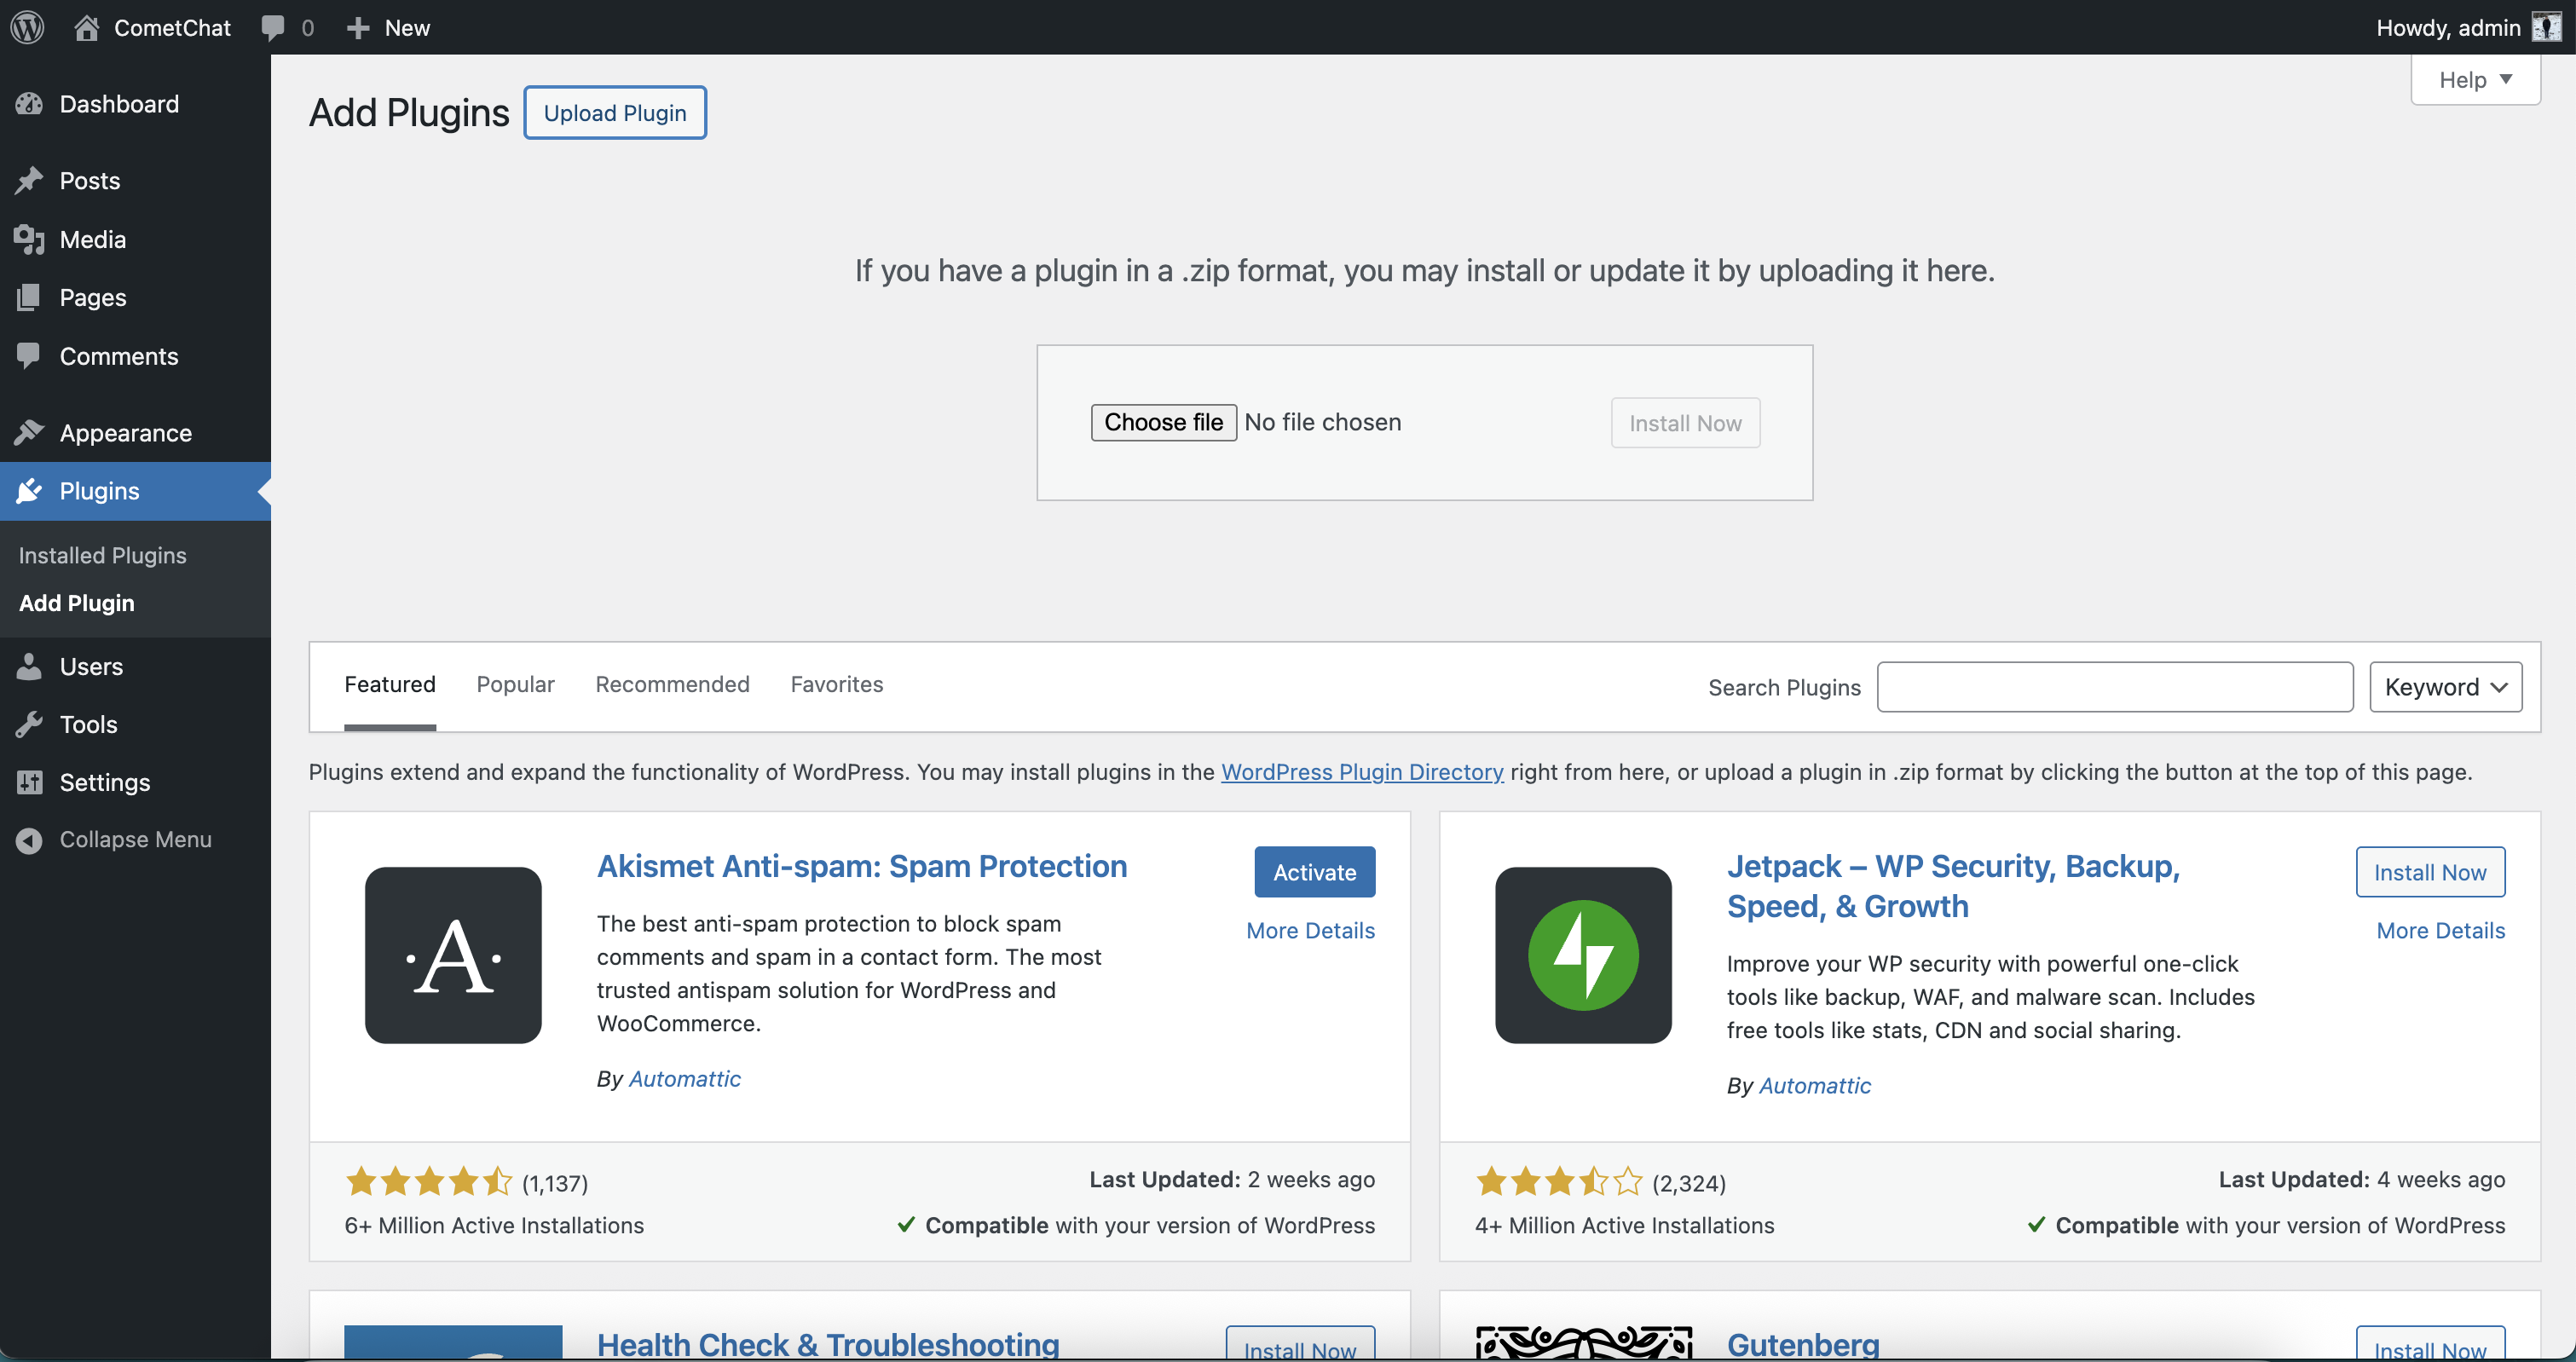
1. In WordPress Admin, navigate to **Plugins → Add Plugin**.
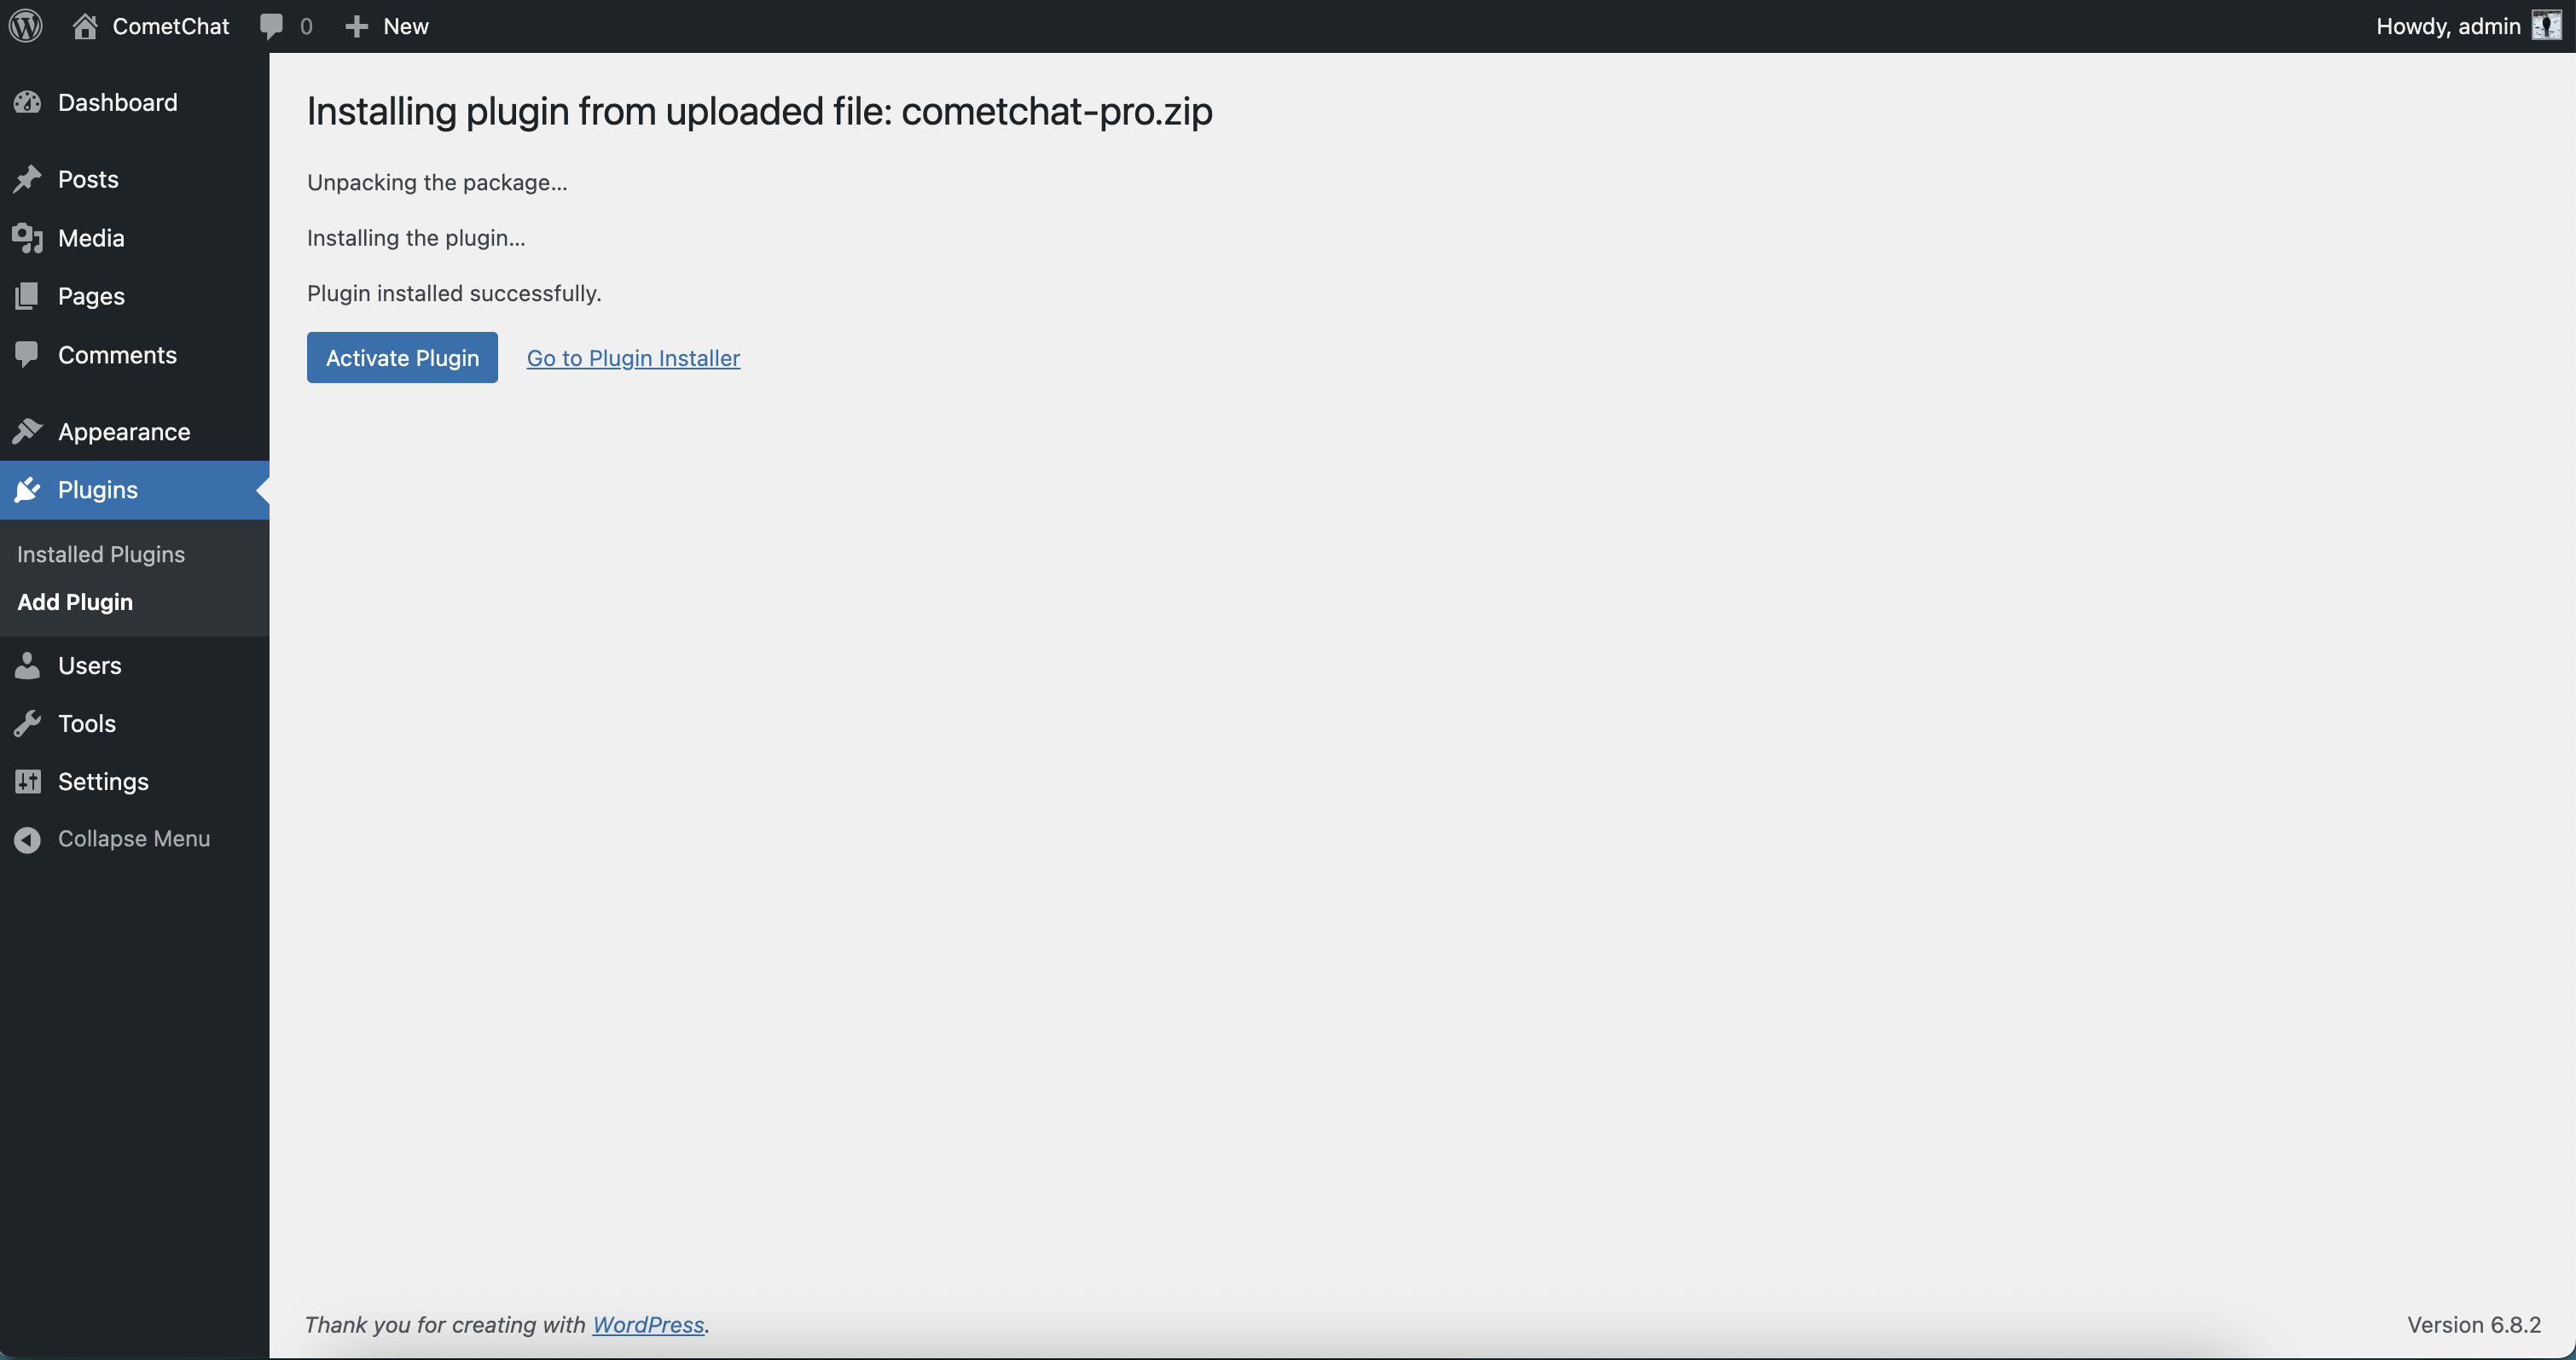
 2. Click **Upload Plugin**, choose `cometchat-pro.zip`, and click **Install Now**.
 3. Once installed, click **Activate Plugin**.
 To use **CometChat UI Kit**, you first need to register on the **CometChat Dashboard**.
After registering, create a **new app** and retrieve your **authentication details**:
1. Navigate to **Application**, then select the **Credentials** section.
2. Note down the following keys:
* **App ID**
* **Auth Key**
* **Region**
1. In WordPress Admin, go to **CometChat Chat Builder** in the sidebar.
2. Paste your **Widget ID**, **App ID**, **Region**, and **Auth Key**.
3. (Optional) Set **Default User UID** to auto-login a specific user.
4. Choose **Display Mode**:
* **Embedded** (inline on specific pages)
* **Docked** (floating on every page)
5. Click **Save Changes**.
1. Edit any Page/Post, add a **Shortcode** block, and insert:
```text theme={null}
[cometchat
width="600px"
height="600px"
docked="false"
variant-id="default-variant"
chat-type="user"
default-chat-id="uid_or_guid"
]
```
2. Publish or update the Page/Post.
1. Edit any Page/Post (or site-wide), add a **Shortcode** block, and insert:
```text theme={null}
[cometchat
width="400px"
height="800px"
docked="true"
variant-id="default-variant"
docked-alignment="right"
chat-type="user"
default-chat-id="uid_or_guid"
]
```
2. Publish or update to see the widget docked on the chosen side.
1. In **CometChat Chat Builder** settings, set **Display Mode** to **Docked**.
2. Save—widget will now float on every public page.
***
## Advanced JavaScript APIs
Once the widget is loaded, interact with it via the global `CometChatApp` object:
### Chat and Call Methods
```js theme={null}
// Chat with a particular user
CometChatApp.chatWithUser("UID");
// Chat with a particular group
CometChatApp.chatWithGroup("GUID");
// Initiate calls with a particular user
CometChatApp.callUser("UID");
// Initiate calls with a particular group
CometChatApp.callGroup("GUID");
```
### UI Event Listeners
```js theme={null}
// Message received listener
CometChatApp.uiEvent("onMessageReceived", (msg) => {
console.log("New message received:", msg);
});
// Chat opened listener (for docked mode)
CometChatApp.uiEvent("onOpenChat", (args) => {
console.log("Chat opened", args);
});
// Chat closed listener (for docked mode)
CometChatApp.uiEvent("onCloseChat", (args) => {
console.log("Chat closed", args);
});
// Active chat change listener
CometChatApp.uiEvent("onActiveChatChanged", (args) => {
console.log("onActiveChatChanged", args);
});
```
### Localization
With language localization, our Chat Widget adapts to the language of a specific country or region. Chat Widget allows you to detect the language of your users based on their browser settings and set the language of the widget accordingly.
You can also set the language manually using the `CometChatApp.localize` method.
The CometChat App supports localization for multiple languages, allowing you to provide a tailored experience for users across different regions.
You can find the list of supported languages and their corresponding language codes below:
| Language | Code |
| ------------------------ | ------- |
| English (United States) | `en-US` |
| English (United Kingdom) | `en-GB` |
| Dutch | `nl` |
| French | `fr` |
| German | `de` |
| Hindi | `hi` |
| Italian | `it` |
| Japanese | `ja` |
| Korean | `ko` |
| Portuguese | `pt` |
| Russian | `ru` |
| Spanish | `es` |
| Turkish | `tr` |
| Chinese | `zh` |
| Chinese (Traditional) | `zh-TW` |
| Malay | `ms` |
| Swedish | `sv` |
| Lithuanian | `lt` |
| Hungarian | `hu` |
```javascript theme={null}
CometChatApp.localize(LANGUAGE_CODE);
Eg. CometChatApp.localize('en-US');
```
It takes the following parameters:
| Parameter | Description | Type |
| -------------- | ------------------------------------------------- | -------- |
| LANGUAGE\_CODE | The language code the texts to be translated into | Required |
***
## Troubleshooting
* **Plugin upload fails**: Ensure the ZIP is intact and WordPress has write permissions.
* **Settings not saving**: Temporarily disable caching/minification plugins.
* **Shortcode not working**: Verify the `[cometchat]` syntax and saved settings.
* **JavaScript errors**: Check browser console for missing `CometChatApp` or invalid parameters.
***
## Need Help?
Questions or issues? Contact [CometChat Support](https://www.cometchat.com/contact).
To use **CometChat UI Kit**, you first need to register on the **CometChat Dashboard**.
After registering, create a **new app** and retrieve your **authentication details**:
1. Navigate to **Application**, then select the **Credentials** section.
2. Note down the following keys:
* **App ID**
* **Auth Key**
* **Region**
1. In WordPress Admin, go to **CometChat Chat Builder** in the sidebar.
2. Paste your **Widget ID**, **App ID**, **Region**, and **Auth Key**.
3. (Optional) Set **Default User UID** to auto-login a specific user.
4. Choose **Display Mode**:
* **Embedded** (inline on specific pages)
* **Docked** (floating on every page)
5. Click **Save Changes**.
1. Edit any Page/Post, add a **Shortcode** block, and insert:
```text theme={null}
[cometchat
width="600px"
height="600px"
docked="false"
variant-id="default-variant"
chat-type="user"
default-chat-id="uid_or_guid"
]
```
2. Publish or update the Page/Post.
1. Edit any Page/Post (or site-wide), add a **Shortcode** block, and insert:
```text theme={null}
[cometchat
width="400px"
height="800px"
docked="true"
variant-id="default-variant"
docked-alignment="right"
chat-type="user"
default-chat-id="uid_or_guid"
]
```
2. Publish or update to see the widget docked on the chosen side.
1. In **CometChat Chat Builder** settings, set **Display Mode** to **Docked**.
2. Save—widget will now float on every public page.
***
## Advanced JavaScript APIs
Once the widget is loaded, interact with it via the global `CometChatApp` object:
### Chat and Call Methods
```js theme={null}
// Chat with a particular user
CometChatApp.chatWithUser("UID");
// Chat with a particular group
CometChatApp.chatWithGroup("GUID");
// Initiate calls with a particular user
CometChatApp.callUser("UID");
// Initiate calls with a particular group
CometChatApp.callGroup("GUID");
```
### UI Event Listeners
```js theme={null}
// Message received listener
CometChatApp.uiEvent("onMessageReceived", (msg) => {
console.log("New message received:", msg);
});
// Chat opened listener (for docked mode)
CometChatApp.uiEvent("onOpenChat", (args) => {
console.log("Chat opened", args);
});
// Chat closed listener (for docked mode)
CometChatApp.uiEvent("onCloseChat", (args) => {
console.log("Chat closed", args);
});
// Active chat change listener
CometChatApp.uiEvent("onActiveChatChanged", (args) => {
console.log("onActiveChatChanged", args);
});
```
### Localization
With language localization, our Chat Widget adapts to the language of a specific country or region. Chat Widget allows you to detect the language of your users based on their browser settings and set the language of the widget accordingly.
You can also set the language manually using the `CometChatApp.localize` method.
The CometChat App supports localization for multiple languages, allowing you to provide a tailored experience for users across different regions.
You can find the list of supported languages and their corresponding language codes below:
| Language | Code |
| ------------------------ | ------- |
| English (United States) | `en-US` |
| English (United Kingdom) | `en-GB` |
| Dutch | `nl` |
| French | `fr` |
| German | `de` |
| Hindi | `hi` |
| Italian | `it` |
| Japanese | `ja` |
| Korean | `ko` |
| Portuguese | `pt` |
| Russian | `ru` |
| Spanish | `es` |
| Turkish | `tr` |
| Chinese | `zh` |
| Chinese (Traditional) | `zh-TW` |
| Malay | `ms` |
| Swedish | `sv` |
| Lithuanian | `lt` |
| Hungarian | `hu` |
```javascript theme={null}
CometChatApp.localize(LANGUAGE_CODE);
Eg. CometChatApp.localize('en-US');
```
It takes the following parameters:
| Parameter | Description | Type |
| -------------- | ------------------------------------------------- | -------- |
| LANGUAGE\_CODE | The language code the texts to be translated into | Required |
***
## Troubleshooting
* **Plugin upload fails**: Ensure the ZIP is intact and WordPress has write permissions.
* **Settings not saving**: Temporarily disable caching/minification plugins.
* **Shortcode not working**: Verify the `[cometchat]` syntax and saved settings.
* **JavaScript errors**: Check browser console for missing `CometChatApp` or invalid parameters.
***
## Need Help?
Questions or issues? Contact [CometChat Support](https://www.cometchat.com/contact).